
Yarn overs made simple for neater knitting
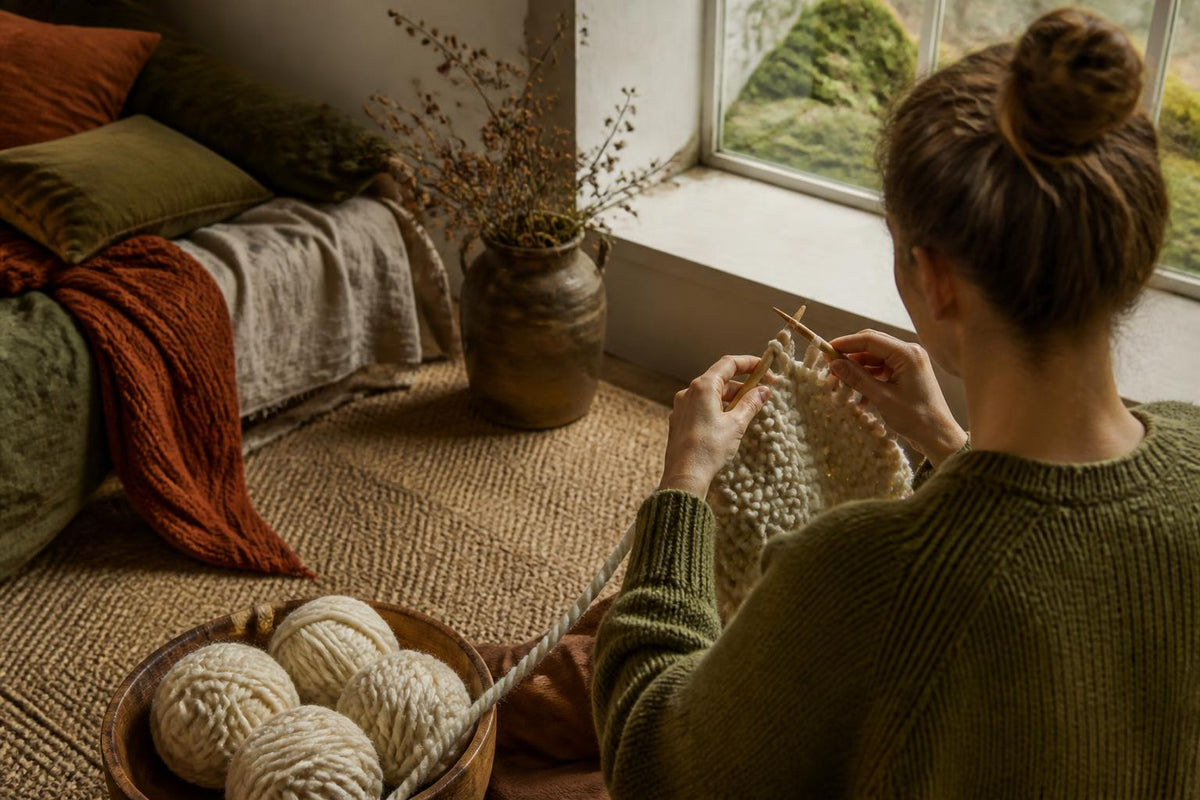
A yarn over is one of the simplest ways to add a stitch in knitting, but it is also one of the easiest to muddle when you are still building confidence. In plain terms, you bring the working yarn over the needle so it sits there ready to be worked on the next row or round. That extra wrap becomes a new stitch, and because the yarn has travelled over open space, it leaves a small hole, or eyelet, in the fabric.
That is why yarn overs matter so much in lace and decorative knitting. They are not just a way to increase. They are a deliberate design feature. Once you understand where the yarn needs to travel between knit and purl stitches, yarn over knitting becomes much neater, and you are far less likely to create accidental extra stitches at the edge or lose one in the middle of a repeat.
What a yarn over does in knitting
A yarn over creates a new stitch by laying the working yarn over the right needle. On the following row, or on the next round if you are knitting in the round, you work into that loop just as you would any other stitch, unless the pattern tells you otherwise.
The reason it forms an eyelet is simple. With a normal increase such as knit front and back, the new stitch is pulled out of an existing stitch, so the fabric stays relatively closed. With a yarn over, the yarn crosses open air between stitches before becoming part of the fabric. That open space remains visible as a hole.
This matters because a yarn over is meant to be visible. If your pattern includes lines of holes, leaf motifs, mesh panels or decorative openings, those eyelets are part of the design, not a flaw.
It also helps to know what a yarn over is not. An accidental extra stitch often appears when the yarn is taken over the needle by mistake at the start of a row, especially after turning the work. The first stitch can look stretched, and the yarn may sit over the needle in a way that resembles a yarn over. If the pattern did not call for an increase there, it is not a proper yarn over. It is just an unintended wrap, and if you knit it as though it belongs, your stitch count will go up.
A deliberate yarn over should appear exactly where the pattern places it. If it turns up at the edge, beside a marker, or in the middle of a repeat where there should not be one, pause and check whether the yarn was simply moved the wrong way between stitches.
How to work a yarn over before knit and purl stitches
The key to neat yarn overs is not only making the wrap, but moving the yarn correctly for the next stitch. That is where many knitters pick up extra wraps without meaning to.
Between two knit stitches, the yarn is already at the back after the first knit stitch. To make a yarn over, bring the yarn forward between the needles, then take it over the right needle to the back again. Knit the next stitch. You have made one complete wrap over the needle, and the yarn is back in the correct position for knitting.
Between two purl stitches, the yarn starts at the front. Take it over the right needle to the back, then bring it forward again between the needles so you are ready to purl the next stitch. That movement creates the yarn over while returning the yarn to the front where it needs to be.
From a knit stitch to a purl stitch, after knitting, the yarn is at the back. Bring it forward between the needles, then over the right needle to the back, then forward again between the needles to purl the next stitch. This can feel like a bigger movement, but it is simply the path needed to create the wrap and end with the yarn at the front.
From a purl stitch to a knit stitch, after purling, the yarn is at the front. Take it over the right needle to the back and then knit the next stitch. In this case the movement is often the most straightforward, because the yarn over and the repositioning for the knit stitch are almost the same action.
If you are wondering why these directions sound so particular, it is because the path of the yarn determines whether you create one intentional wrap or two messy ones. A common beginner error is to swing the yarn right round the needle and then move it again to get ready for the next stitch. That can leave an extra loop you did not mean to make.
A practical way to learn is to knit a small swatch with columns of yarn overs separated by plain stitches. Work a few rows where you deliberately place them between knit stitches, then between purl stitches. You will quickly see which movements give you clean, even eyelets.
If you are still getting used to stitch structure, it can help to choose a simple project and a forgiving yarn. Our guide to easy scarf knitting projects for beginners is a good place to start if you want practice without complicated shaping.
Why patterns use yarn overs
Patterns use yarn overs for three main reasons, decoration, lace structure and shaping.
In decorative knitting, a yarn over creates a single eyelet or a line of eyelets. This can be as simple as a row of holes near a hem or cuff, or as detailed as a repeated motif across a shawl. Eyelets can look crisp and geometric or soft and organic depending on the yarn and needle size.
In lace knitting, yarn overs are essential. Most lace motifs are built from a balance of increases and decreases. The yarn over makes the hole and adds a stitch. A decrease such as knit two together, slip slip knit, or centred double decrease removes one or more stitches and changes the direction of the fabric lines. Together, these moves create the open pattern.
That is why many lace rows keep the stitch count stable even though they contain several yarn overs. If a pattern says something like "yo, k2tog" or "ssk, yo", the yarn over adds a stitch and the decrease removes one. The total number of stitches remains the same, but the fabric gains shape and openness.
Yarn overs can also be used for shaping when a designer wants a visible increase. In a raglan line, a decorative panel, or a yoke, a yarn over increase can become part of the look rather than disappearing into the fabric. In those cases the eyelet is intentional.
Not every increase with a yarn over is paired straight away with a decrease. In some garments and accessories, the stitch count really does grow to widen the piece. The pattern should make that clear. If the row ends with more stitches than it began with, that is not a problem unless it contradicts the pattern notes.
When choosing yarn for eyelet or lace work, fibre and yarn structure make a real difference. We cover that in more depth in our article on choosing yarn to suit your knitting project, especially if you are comparing airy lace effects with denser winter fabrics.
How to read yarn overs in patterns and charts
In written patterns, yarn overs are often abbreviated as yo. You may also see y o, yrn, yarn round needle, or yarn over needle in older pattern styles. UK knitters come across a mix of modern international pattern writing, older British publications, and designer-specific shorthand, so it is worth checking the pattern abbreviations page before you begin.
If a pattern uses both knitting and crochet language in the same booklet, pay close attention. A designer may note whether they use UK crochet terms, but knitting abbreviations are usually listed separately. Do not assume a term means the same thing across crafts.
In charts, a yarn over is usually shown by an open circle, but symbols are not universal. Some charts use a different shape, and Japanese charts in particular may follow their own conventions. Always read the chart key. The symbol tells you what action to work, not what the stitch will look like on the row below.
Repeats are where many mistakes creep in. If a pattern says "k2, yo, k2tog; repeat from to last 2 sts", check exactly where the repeat starts and ends. If you miss the yarn over inside a repeat, the stitch count will be off by the time you reach the end of the row. If you add one outside the repeat, the same thing happens.
It is also worth checking whether the pattern gives a stitch count after a setup row or lace row. Good patterns often say how many stitches you should have at the end of key rows. Use that information. It saves a great deal of unpicking later.
If you are choosing a garment pattern with lace details, it helps to be realistic about how much chart reading you enjoy. Our piece on how to choose a pullover pattern you will finish can help you judge whether a design suits the way you like to knit.
How to avoid common yarn over mistakes
The first common mistake is simply forgetting the wrap. You work the decrease, move on, and only notice later that the eyelet is missing. If the pattern relies on paired yarn overs and decreases, forgetting one usually throws off the stitch count as well as the motif. A row counter, stitch markers between repeats, or a quiet habit of counting after each repeat can help.
The second is twisting the yarn over on the next row. If you knit or purl into the back of the loop by mistake, you close the eyelet and change the look of the fabric. Usually, if the pattern wants an open hole, you work the yarn over through the front of the loop in the ordinary way. If a designer wants a twisted yarn over for a smaller hole, they will usually say so.
The third is making accidental yarn overs at row ends. This often happens when the working yarn is lifted over the needle while turning the work, especially before the first stitch. The edge stitch then looks doubled or unusually loose. Before you knit the first few stitches of a row, glance at the needle and make sure there is only the expected number of loops.
Another frequent issue is losing track of stitch count in lace repeats. Because yarn overs intentionally add stitches, the row can look untidy while you are working it. That can make it harder to spot whether you have one stitch too many or too few. We find it useful to count between markers rather than across the full row, especially on wider pieces.
If you do spot a problem quickly, you can often fix a missed yarn over without ripping back the whole row. If there is a strand running between stitches where the yarn should have crossed, you may be able to lift it onto the needle on the next row. The result will not always be perfect in fine lace, but it can be acceptable in a casual project. If the pattern is very open or symmetrical, ripping back may still be the better choice.
Choosing yarn and checking tension for eyelets
Yarn overs show up differently depending on fibre, yarn weight, twist and tension. A smooth wool or cotton often gives crisp, well-defined eyelets. A fuzzy halo, lofty single, or very springy yarn can soften the holes and blur the edges of a lace motif.
Yarn weight matters too. In a 4 ply or lace weight yarn, eyelets can look delicate and precise. In aran or chunky yarn, they become bolder. In a super chunky yarn, each yarn over can become a strong graphic feature rather than a dainty detail.
That is useful to remember if you are working with World of Wool Chubbs. This super chunky merino yarn has real loft, and loft changes how openings sit in the fabric. A yarn over in a lofty merino can relax into a rounded hole with soft edges, especially after blocking. That can be beautiful, but it will not look the same as the sharp eyelet you might get in a tightly spun cotton.
This is one reason we always recommend knitting a tension square, even if the project seems simple. For lace or eyelets, the square tells you more than stitch gauge alone. It shows whether the holes are opening clearly, whether the fabric hangs well, and whether your chosen needle size suits the yarn. Wash and dry the square as you plan to treat the finished piece, because eyelets often change after blocking.
When comparing yarns, also check the dye lot if your project uses more than one ball. In openwork fabric, shifts between batches can be easier to notice because the eyelets break up the surface and catch the light differently. Keeping to one dye lot where possible helps the finished fabric look even.
If you are weighing up different fibres for openwork, compare the behaviour rather than only the label. Cotton can hold a crisp hole but has less bounce. Wool has elasticity and can bloom after washing. Merino is soft and often very pleasant to wear next to the skin, but in a lofty construction it may give a gentler outline to the eyelets. For a dramatic oversized texture, a yarn like Chubbs can make simple yarn over patterns very effective because the openings are easy to see and the knitting grows quickly.
For larger scale projects, it can also help to think about proportion. A tiny lace repeat may disappear in very thick yarn, while a simple eyelet column or open rib can look excellent. If you are unsure whether a bold yarn is right for the pattern in mind, our article on jumbo knitting yarn for cosy projects offers useful points of comparison.
At Native Yarns, operated by Fleeta Limited, we think yarn overs become much less intimidating once you treat them as part of stitch structure rather than a special trick. Watch where the yarn starts, where it needs to finish for the next stitch, and whether the pattern wants that extra stitch to remain or be balanced by a decrease. With that in mind, your eyelets will be cleaner, your stitch count steadier, and your knitting far easier to read.
Is a yarn over the same as an increase?
Yes, it is an increase because it adds a stitch. What makes it distinctive is that it also creates an eyelet, unlike many other increases that aim to look solid.
Why does my yarn over look too big?
It may be worked loosely, or the yarn and needle combination may emphasise the hole. Check your tension square and make sure the following stitch is not stretched.
Do I knit or purl a yarn over on the next row?
Usually you work it as the pattern tells you when you reach it on the next row. In many simple fabrics, you knit it on a knit row and purl it on a purl row.
Can a yarn over happen by accident?
Yes. A common cause is taking the yarn over the needle when changing between knit and purl, especially at row ends. That creates an unintended extra stitch.
Does super chunky yarn make yarn overs harder to see?
Not always. In a lofty yarn such as super chunky merino, the eyelet can look bold but softer-edged. The result depends on twist, fibre bloom and overall tension.